The previous article covered what a story map is, its components, how to define users for it, and the difference between AS-IS and TO-BE maps. Now comes the part most teams actually struggle with: building one. User story mapping looks simple on paper, but in a real room with a real team, it often turns into a wall of sticky notes that nobody knows how to read the next day.
This guide walks through six deliberately simple steps that turn raw ideas into a shared, prioritized user journey. The steps are not new, but they only work when a team does them in order and with intent: externalize, frame, unfold, sharpen, surface risks, and keep the map alive. Most story mapping methods can be summarized in a handful of moves like these. Simple, but powerful when practiced deliberately.
Step 1: Externalize Ideas to Make Thinking Visible
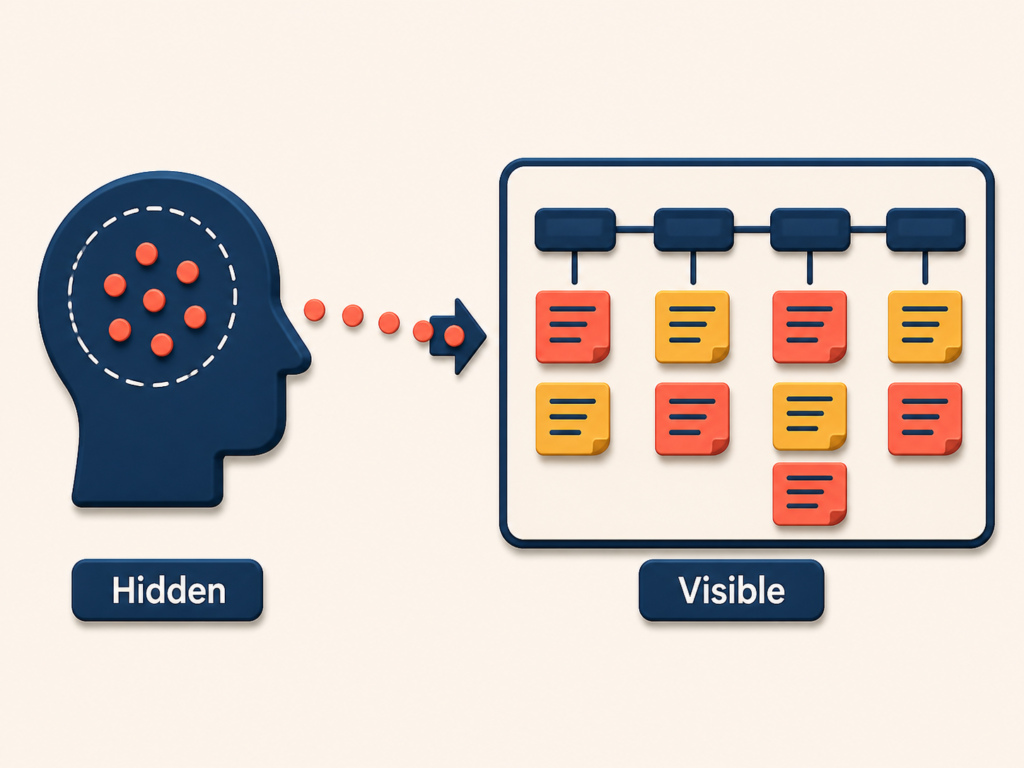
Meetings fail for a very human reason. We cannot listen, think, prepare a counter-argument, and remember everything at the same time. While one person is talking, the others are usually doing something else:
- Preparing a rebuttal
- Thinking of an edge case
- Watching for a moment to jump in
This is where information quietly disappears. Externalizing is the antidote: writing thoughts on cards or sticky notes the moment they appear, instead of trusting memory.
A few rules keep externalizing useful:
- One idea per card
- Short, concrete phrases
- Written during the conversation, not after it
Two things happen when a team does this. People can listen again, because their thoughts are safely captured. And the discussion gains a shared, visible memory that anyone can point to.
Physical or digital does not matter. The habit matters.
Externalizing is like a grocery list. If you stand at the fridge and try to remember what you need, something always gets missed at the store. If you write it down as you check, you only have to follow the list. Meetings work the same way: write the thought down as it appears, and you never have to ask “wait, what did we just say?”
Step 2: Frame the Conversation with Outcomes and Constraints
Externalizing alone produces a chaotic wall of notes. Framing is what gives those notes meaning.
Before mapping features or flows, an effective team sets an agreed frame on top of the board. A typical set of framing questions looks like this:
- Why are we building this?
- Who is it for?
- What outcome are we trying to change?
- What constraints exist (time, risk, compliance, technology)?
- What business benefit follows if this works?
The team does not need perfect answers. It needs visible assumptions. Placing the frame at the top of the map keeps intent on display while the rest of the map evolves underneath. When a debate gets stuck three hours later, the frame is still there, reminding the room what the work is for.
Framing is like a photo of the mountain peak you are hiking toward. In the middle of a forest, every fork in the trail looks confusing. But if you can glance up and see where you are going, it becomes obvious which path to take. A story map’s frame plays the same role: when the team falls deep into details, it answers the quiet question “why are we doing this again?”
Step 3: Unfold the Story and Layer It
User story mapping is not just about collecting ideas — it is about organizing them into a coherent product story. Stories live on two axes:
- Left to right: the user journey unfolding in time
- Top to bottom: layers of detail, with depth increasing as you go down
This structure does more than tidy things up. It makes the user’s story inside the product visible. Missing experiences, hidden dependencies, and necessary trade-offs surface naturally, without long arguments.
In practice, a story map usually carries three levels of detail:
- Epic: a meaningful theme of user activity that spans the journey
- Story: a specific user interaction within that theme
- Task: the concrete action needed for the interaction to work
At the top of the map, epics and high-level stories describe what users are trying to do. As you move down, stories and tasks describe how that activity actually happens, in increasing detail.
Over time, patterns start to appear:
- Items that should be grouped together
- Steps in the journey that are missing or vaguely defined
- Details that arrived too early and have nowhere to belong
These patterns are what make the story map useful. They turn a random pile of user-behavior ideas into a shared understanding of what matters, what is missing, and what can wait.
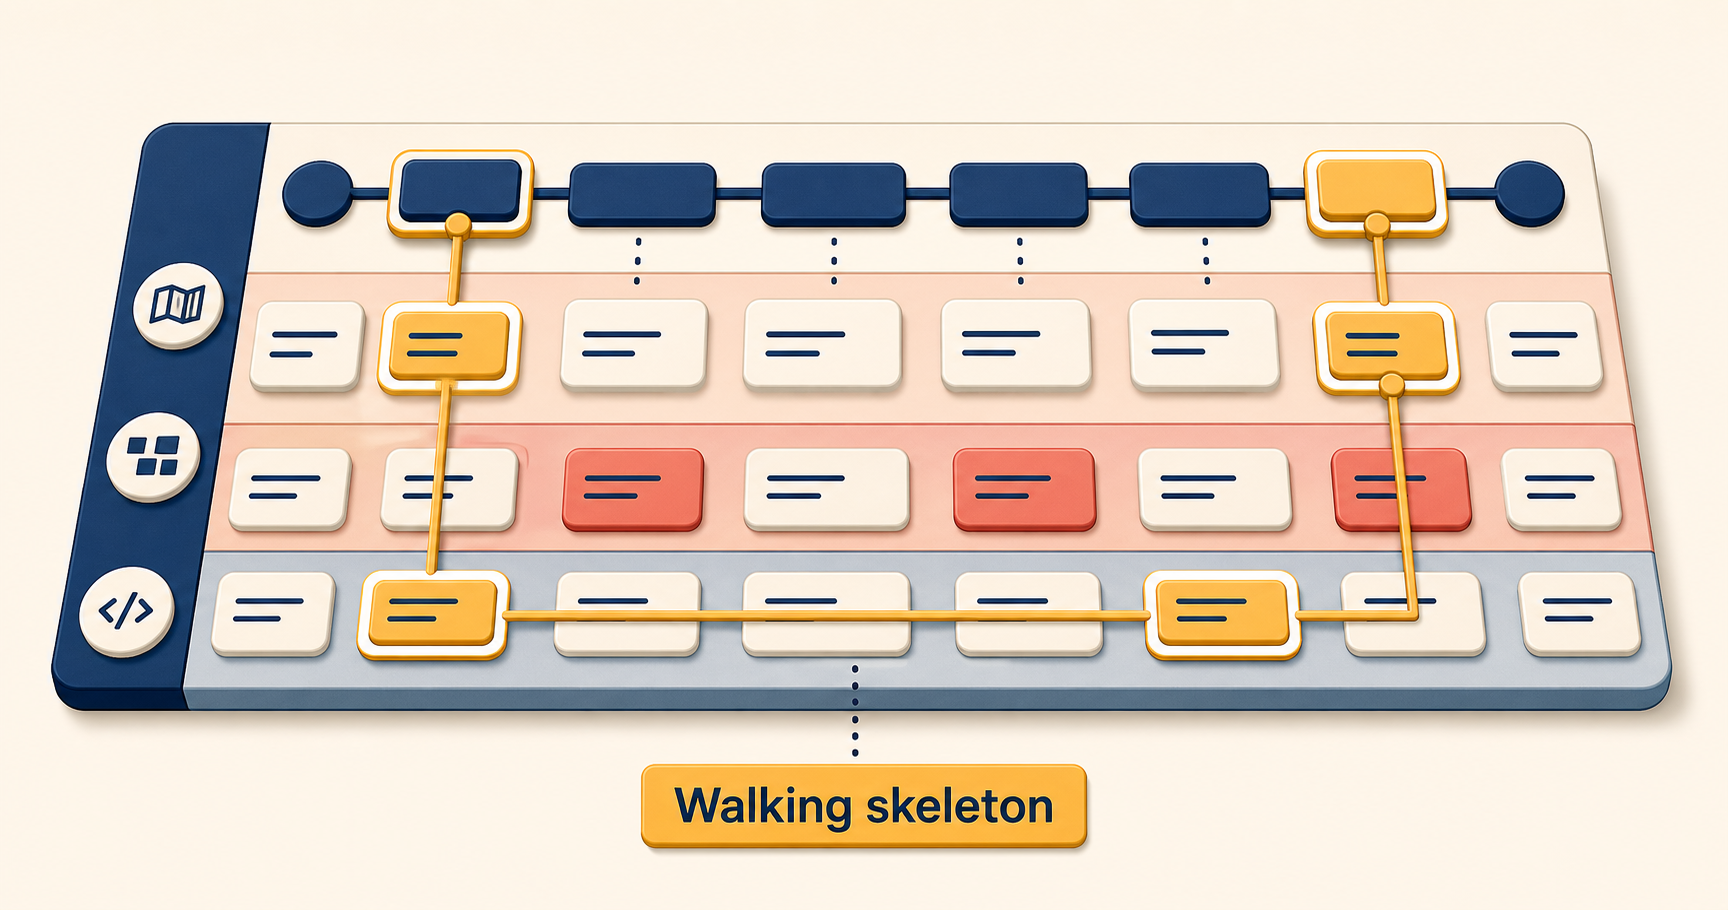
The Backbone and the Walking Skeleton
Imagine a team building a data analytics tool for a marketing manager who checks campaign performance every morning. The team starts by mapping the user journey across the top of the board:
- Open the product
- Upload campaign data
- Check core metrics
- Decide the next move
These steps form the backbone of the map. Each one is an Epic that names a meaningful chunk of the user’s activity.
To make the journey actually work, the team adds a few Stories underneath:
- Under Upload campaign data:
- Upload a CSV file
- Validate the file format
- Under Check core metrics:
- Show total spend
- Show conversions
As the conversation moves toward implementation, Tasks start to surface naturally:
- Implement the file upload endpoint
- Persist the uploaded data
- Run a basic metrics calculation
At this point, the team pauses and asks:
What is the smallest version of this journey that could actually work?
They draw a line across the map, leaving only the features that are truly necessary. Building on that slice gives them a no-frills walking skeleton — the minimum that lets the journey run end to end.
The backbone and walking skeleton are like the frame of a building. When you put up an apartment block, you raise the steel frame (backbone) first, then make sure one basic floor (walking skeleton) is livable. Interior finishes and landscaping come later. But once the frame and the basic plumbing and wiring are in, you can already tell what kind of building this is and whether a person can actually live in it.
Step 4: Sharpen the Focus on What Matters
Once a team starts mapping stories, the map almost always grows larger than expected. More users, more scenarios, more edge cases, more ideas. That is not the problem. The problem is the moment the team starts pretending it can build all of it.
Time, people, and energy are finite. User story mapping makes those limits visible — and once they are visible, the team has to do the harder work: choosing where to focus.
At this step, the map stops being a discovery artifact and becomes a decision tool. Instead of asking “what should we build?”, the conversation shifts to questions that force trade-offs:
- Which parts of this journey move the outcomes we care about?
- Where would a change actually shift user behavior?
- Which ideas look valuable but are not needed right now?
- If we had to cut half of this map, what would we keep?
This is where vertical ordering earns its weight. Among the stories on the wall, the ones that look essential to the user experience move toward the top. The ones below are not rejected. They mean not yet.
Because everything is visible at once, trade-offs are easier to discuss:
- Two stories look similar, but one clearly takes priority
- One step has too much detail; another has almost none
- A specific story looks important in isolation but weakens when seen against the whole journey
A useful test at this point: step back and ask:
If we only implemented the stories at the top of the map, would the user still get a complete, meaningful journey?
If the answer is no, the problem is not yet about priority. The story itself needs to be sharpened.
Step 5: Surface Risks Early with the Story Map
As coherent story chunks emerge, risks become easier to see. Different parts of the map often carry different kinds of risk:
- Technical uncertainty
- Policy or compliance risk
- Operational cost
- Impact on user trust
Mark them directly on the map. This single move shifts risk talk from abstract worry to a visible trade-off the whole team can point to.
Risks raised early feel manageable. Risks found late feel personal.
Step 6: Keep the Story Map Alive After You Build It
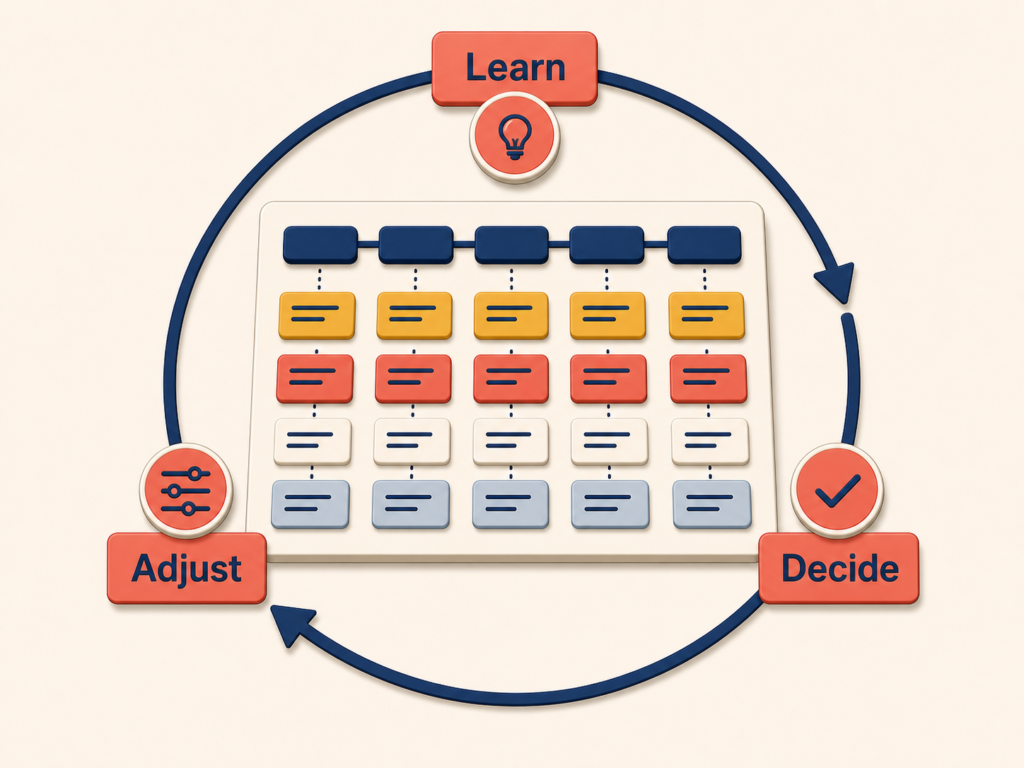
A story map is most useful after the team builds it. Teams come back to it for things the original session could not have anticipated:
- Slicing scope as they learn more
- Explaining decisions to stakeholders
- Onboarding new team members
- Checking whether scope is creeping past the original frame
Story maps do not replace documents. They preserve intent in a way documents struggle to. A spec can list what to build; a living story map shows why it sits where it does in the user’s journey, and what was deliberately left out.
The teams that get the most out of user story mapping treat the map as a long-running reference, not a workshop deliverable. The wall stays up. The map gets updated when scope changes. The frame at the top is revisited when the outcome shifts. That is when the six steps start compounding.
Conclusion
Building a story map is a small, repeatable pattern: externalize ideas so the team can think together, frame the conversation with outcomes and constraints, unfold the story across time and layer it into epics, stories, and tasks, sharpen the focus by deciding what truly matters, surface risks by marking them on the map, and keep the map alive long after the workshop ends.
None of these moves are complicated on their own. The discipline is doing them in order, with intent, and resisting the urge to skip the unglamorous ones — usually framing and sharpening.
The next article looks at how to apply user story mapping to actual product planning: constraint-based planning, deliberate scope reduction, redefining the MVP as a learning tool, and shaping release scope around the user journey rather than around a feature list.
If you want to try this on your next feature kickoff, start with one habit: make every idea visible on a card before the team debates it. That single move tends to change the rest.
User Story Mapping Series
(1) Why Agile User Stories Fail: From Tickets to Shared Understanding
(2) Requirements vs User Stories: How Story Mapping Shifts Teams From Outputs to Outcomes
(3) What is a Story Map? Definition and AS-IS vs TO-BE Story Maps
(4) User Story Mapping: A 6-Step Practical Guide to Building a Story Map
(5) How to Use Story Mapping for Product Planning: MVP, Scope, and Release Strategy
(6) User Story Mapping Checklist: The Team Roles and 12 Signals of a Map That Actually Works